Clay coatings in a nutshell:
If we are working with OSB or Rigidur, before we can actually handle clay, we need to place a rough coat of silicats, in order to ensure better adhesion. After we’ve done this, you will notice some very small rough granules. These could be troublesome, so before you put any other clay coats, you’ll need to check if all these granules don’t fall when you scratch it with your fingers. It’s as simple as that. To break it down in steps…
Step 1:
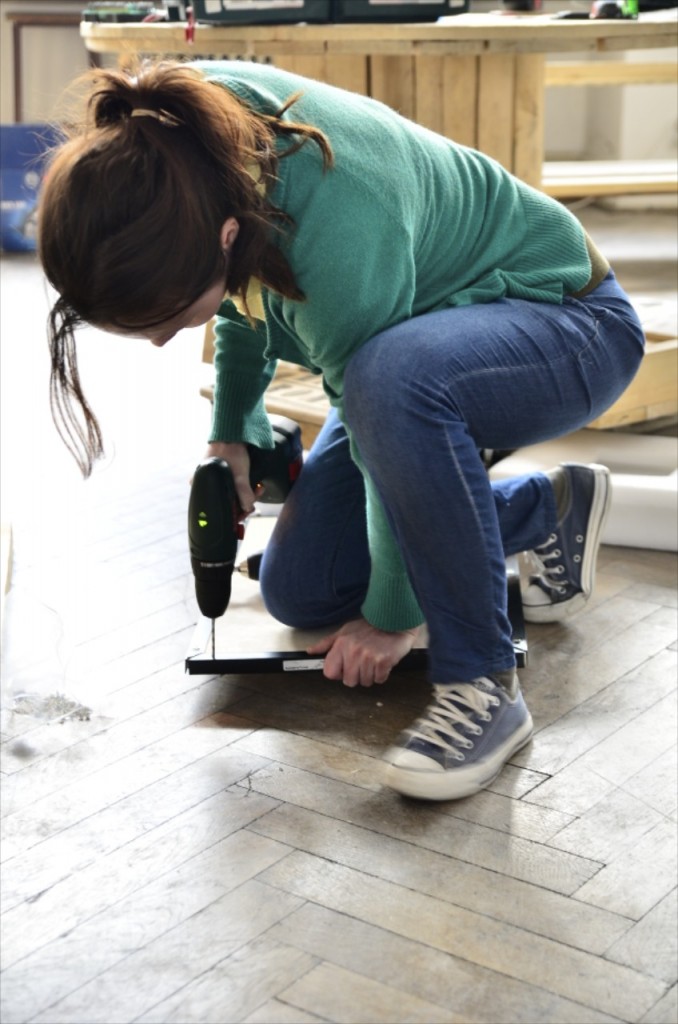
Choose your favorite OSB or Rigidur panel. Choose the best clay there is. 😀 the one provided by Natural Paint, of course. Place your panel wherever you need it to be, make sure all other finishings are done. Cut it, crush it, cut its corners, burnish it.
Step 2:
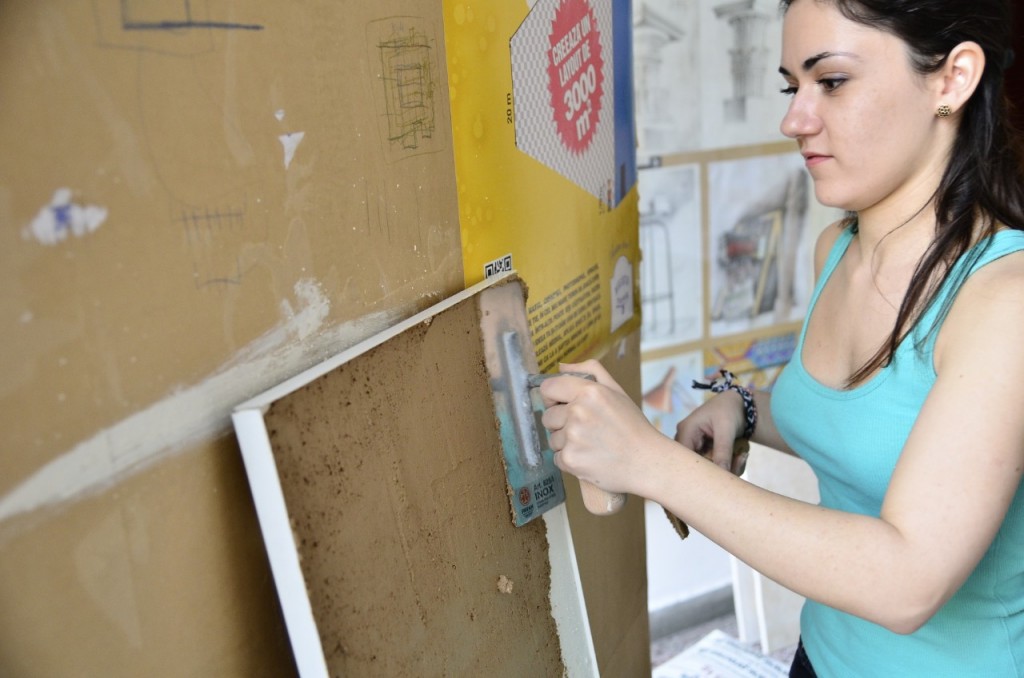
Place the rough coating and wait a minimum of 15 minutes. Professionals recommend that you wait at least 24 hours between the two coatings, otherwise, your end result may not be the one you wished for. You should use a smooth grouter for this step.
Step 3:
Wait! Seriously, we can’t stress that enough. Unless you wait, your end result won’t be as pleasing as you want it to be!
Step 4:
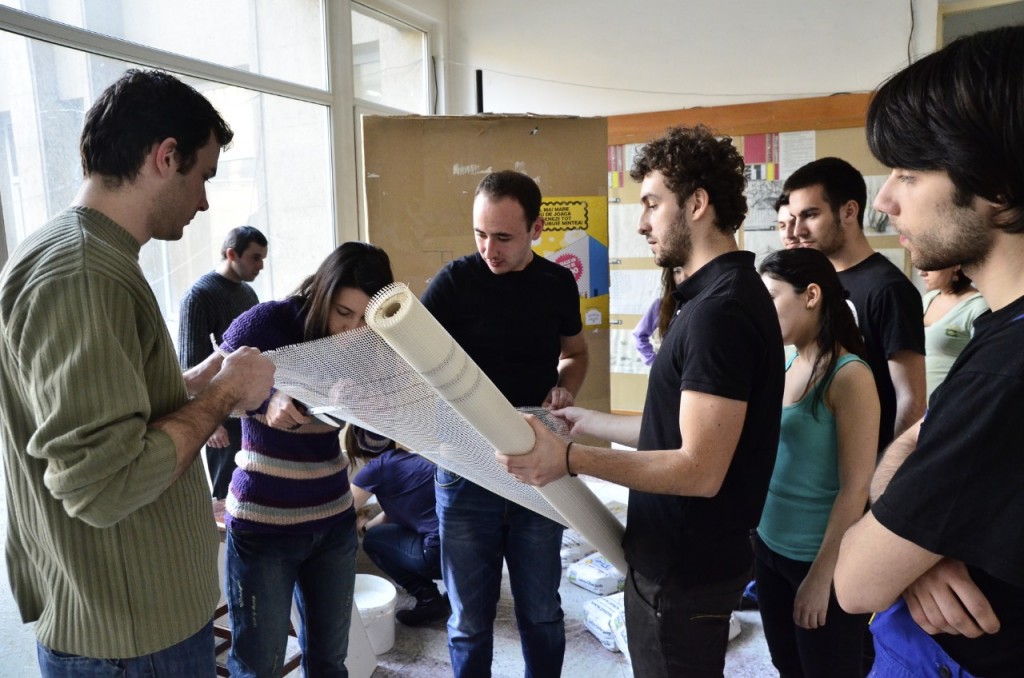
Place another thin coat of clay with a cogged grouter. This coat should be dilluted with a bit of water. Choose a net fitting, cut it into the dimensions you need, as in the picture below, and place it on top of this new coat. Smoothen it down with a line grouter.
After you’ve done this, you need to place the last clay coat. (pictures will follow 😉 stay tuned! )


